What is iList?
iList is first of its kind WordPress plugin to build dynamic Infographics and elegant Lists effortlessly. Create HTML & Responsive infographics or simple Text or Image Lists easily. Then embed the list/s on any WordPress page or post with short codes!

This is a new way to create or curate useful contents easily and quickly and display them with elegant designs. Create simple text lists, image lists or infograhics that your users will love, bookmark, embed and share!
You can allow people to *cast votes* for your list and infographic items. You can allow anyone to *embed your infographics or lists* or on their websites! As a HUGE added bonus this creates BackLink opportunities for you because each embed code generates a back link to your own website with custom anchor text as you define.
Who is it for?
iList is a must have plugin for you if you are a:
- Blogger
- SEO specialist
- Content Curator
- Marketer
- Webmaster
- Anyone with a WordPress website
How does it help you?
iList lets you create unique and responsive Lists with any text and images or a combination of both (infographic). This is the first WordPress plugin that lets you build HTML infographics. Create an infographic list with text and images and select an elegant infographic template to show on any page of the website anywhere. The infographics are HTML and Responsive. The infographic templates are beautiful and you can just take a screenshot and share as an image should you want to.
Creating beautiful looking lists used to take a significant CSS knowledge. With iList you get nice looking List designs without any programming knowledge. Forget those old style boring List styles and layouts. This innovative and powerful, yet simple Infographic and List Builder WordPress PlugIn allows you to create and curate comprehensive Lists with text and images with ease. Build Useful Lists or Infographics; share with your website users and let them share yours.
Possibilities are endless. Let people upvote Links and show what they like.
Shortcode Example
No iList was found.
Available Parameters:
1. mode
Value for this option can be set as “one” or “all”. Example: mode=”one”
2. column
Avaialble values: “1”, “2”, “3”. Example: column=1
6. list_id
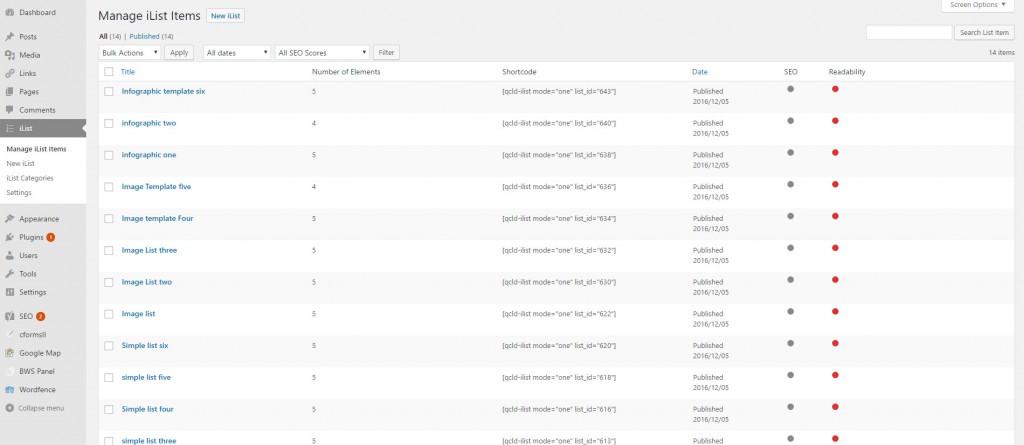
Applicable if you want to display a single list [not all]. You can provide specific list id here as a value. You can also get ready shortcode for a single list under “Manage List Items” menu. Example: list_id=”404″
9. upvote
Values: on or off. This options allows upvoting of your list items.
Example: upvote=”on”
Screenshots

iList Settings Page

Manage Your iLists

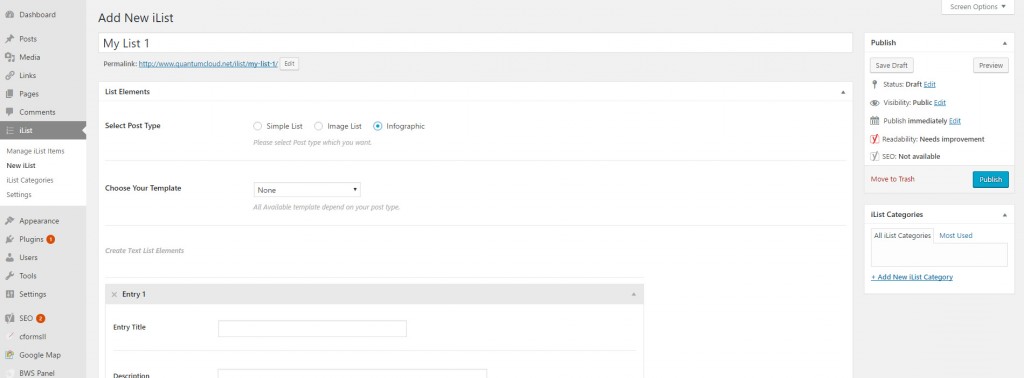
Create new iList

How to Use?
- After activating the plugin, create some lists. Create a new page or post.
- Use the short code generator to add your iList to any page
- Save the page/post and check the page in front end. You’ll see a nicely designed Infographic or List
- Under the settings page in admin you can find more help
Download
iList is in WordPress PlugIn Repository. Download WordPress Plugin Infographic and List Builder iList.
Support
If you have any questions, need support, want a new feature or need to report a bug – simply post a comment below!
Future
We are working on a Pro version of the plugin with LOTS of extra features and premium infographic templates!


how do you remove the like button? and create a bullet list inside the list?
In the short code just add upvote=”off”. You can create a bullet list inside a list with standard html code using ul, li. This is easier with pro version which included visual editor for description area.
Thanks
I have published lists but they are not showing on my website, what should I do?
Hi Paul,
Did you copy and paste the short code to any page? Can you send the link to that page please?
Thanks
purchased pro version of iList after trial of free version. Tried to install, get error message “can’t install no plugins available”
tried deleting free version then install, still no good – help please
You need to Download the zip file following the purchase link. Extract the zip package in your computer. You will find a folder called Documentation and another folder called installable-plugin. Inside installable-plugin folder you will find the actual plugin zip file.
Now you can go to your WordPress backend->Plugins->Add new and upload/activate this zip file.
Or unzip this zip file again and upload the plugin folder to your website’s wp-content/plugins folder using FTP
From the wp-admin panel go to plugins and activate the plugin.
Thanks
Thank you – would be nice to include these instructions somewhere, not everyone is a web guru 🙂